QuickSight #
Amazon QuickSight is a cloud-scale business intelligence service that provides enterprise-grade security, global availability, and built-in redundancy. You can connect QuickSight to Starburst Galaxy and Starburst Enterprise platform (SEP) clusters, and use SQL to analyze information in an interactive visual environment.
Requirements #
- Starburst Galaxy.
- Starburst Enterprise 354-e STS or newer.
- The connection information for your cluster.
Connect to a Starburst dataset #
-
In the QuickSight navigation menu, click Datasets.
-
Click New dataset.
-
Select the Starburst tile.
-
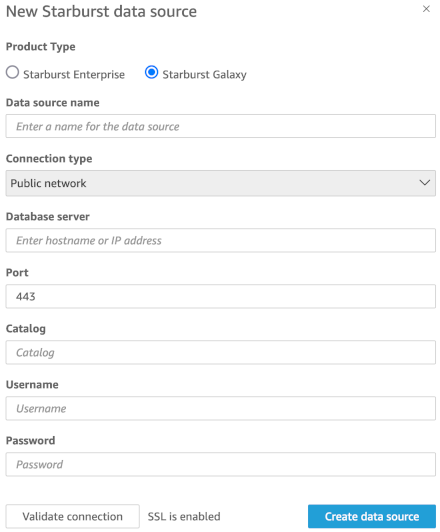
In the New Starburst data source dialog, perform the following actions:
- Product Type: Select a Starburst product.
- Data source name: Name the new datasource.
- Connection type: The Public network is pre-selected by default.
- Database server: Enter the hostname of the cluster.
- Port: The port for Starburst Galaxy is
443. For SEP, the port is8080. - Catalog: Enter the name of the catalog.
- Username: Enter the name of a user.
- Password: Provide the password for the user.
-
To test the connection, click Validate connection. If the connection validation fails, check that the cluster is running, verify your connection details, and try again.
-
Click Create data source.
-
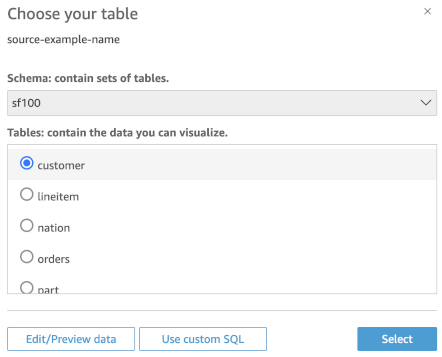
In the Choose your table dialog, expand the drop-down menu. Select a schema, then select a table. To return specific data, click Use custom SQL, and create a custom SQL statement. To preview the data to be used in your analysis, click Edit/Preview data.
-
Click Select.
-
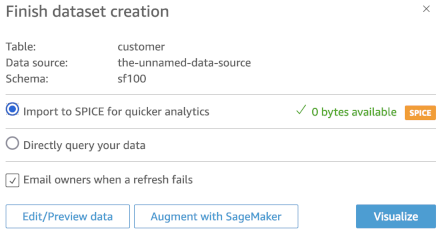
In the Finish data creation dialog, select how you would like to import data:
-
Import to Spice for quicker analytics runs the SELECT statement against data previously stored in memory.
-
Directly query your data runs the SELECT statement directly against the database.
-
-
Uncheck Email users when a refresh fails if you do not want to notify users. This option is only available for Import to Spice for quicker analytics import mode.
-
To enhance data analysis with Amazon SageMaker, click Augment with SageMaker. This option is only available for Import to Spice for quicker analytics import mode.
-
Click Visualize.
-
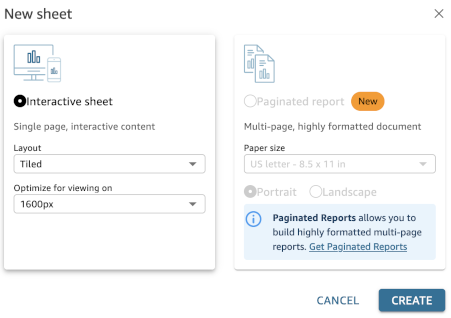
In the New sheet dialog, click Create to create an interactive sheet. To create a paginated report, add the Paginated reporting Add-on to your QuickSight account.
Grant access and set limits #
Users in deployments that use BIAC or file-based access control and enforce the
SET privilege may encounter the following error message during query
execution: Access Denied: Cannot set system session property
query_max_run_time. To prevent this issue, grant the SET privilege on
query_max_run_time. This privilege is required even when the property is set
automatically by QuickSight’s JDBC driver. Granting this privilege does not
impact other users or queries.
To prevent users with direct query access and the SET privilege from
overriding the query_max_run_time limit, use a deny rule for user accounts or
configure a system-wide maximum for query_max_run_time. Any value above the
configured maximum is automatically capped.
Is the information on this page helpful?
Yes
No