Manage cluster schedules #
Cluster scheduling ensures that your clusters do not suspend automatically when idle. Stopped clusters must be started manually, and are therefore not impacted by any defined scheduling. Your cluster must be in running or suspended status to be affected by scheduling.
Create a cluster schedule #
To create a cluster schedule, navigate to the Cluster configurations pane:
Admin > Cluster configurations
-
In the Scheduling section:
- click Create schedule. This opens the Create a cluster schedule
dialog.
- click Create schedule. This opens the Create a cluster schedule
dialog.
-
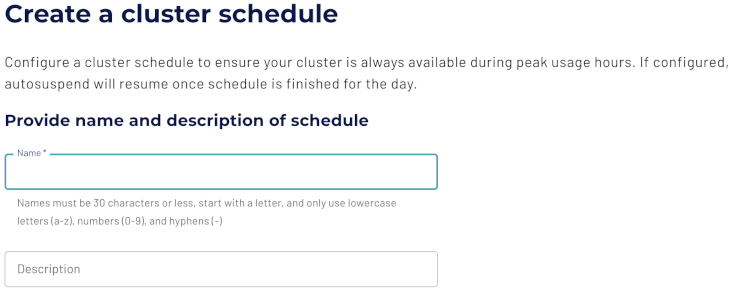
In the Provide name and description section:
- Provide a name for your schedule.
- Add an optional description for your schedule.
Select time zone #
In the Create a cluster schedule dialog, in the Time zone section:
- Choose a time zone. The time zone is set to the time zone of the user, by default.

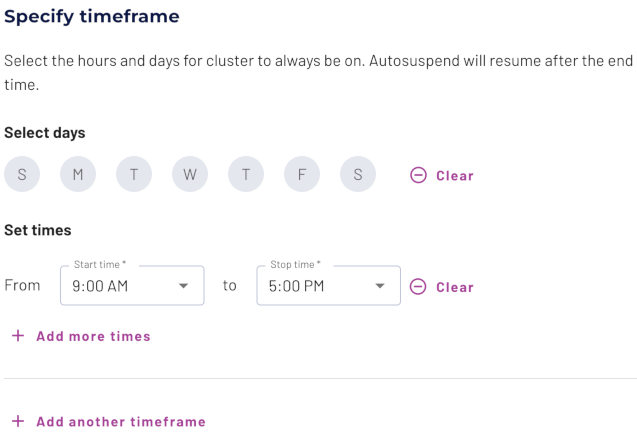
Specify timeframe #
Timeframes override configured auto-suspend times to keep your cluster running. Automatic suspension occurs once the scheduled stop time is reached and the cluster is inactive. Auto-suspend transitions the cluster into suspended status.
For example, a cluster with an auto-suspend time set to 5 minutes is scheduled to run from 9:00 AM to 10:00 AM. If the cluster is inactive from 9:55 AM to 10:00 AM, it automatically suspends at the scheduled stop time. However, if the cluster is still in use after 10:00 AM, it does not forcefully suspend. Instead, it only suspends after it has been idle for 5 minutes.
To specify a timeframe:
-
In the Select days section:
- Choose one or more days.
- Choose one or more days.
-
In the Set times section:
- Expand the menus in the Start time and Stop time
fields, and choose start and stop times.
- Expand the menus in the Start time and Stop time
fields, and choose start and stop times.
You can also input the times you want your cluster to run. Time intervals are available in 15 minute intervals, starting at the top of the hour and progressing by a quarter of an hour. For example, 9:00 AM, 9:15 AM, 9:30 AM, 9:45 AM, 10:00 AM. To reset the Start time and Stop time fields, click do_not_disturb_on Clear.
To Add more times:
-
Click Add more times to add an additional time interval for the timeframe. You can create as many time intervals as required. To remove a time interval, click delete Remove.
-
Click Add another timeframe to add an additional timeframe, and follow the preceding steps. You can create as many timeframes as required. To remove a timeframe, Click delete Delete timeframe.
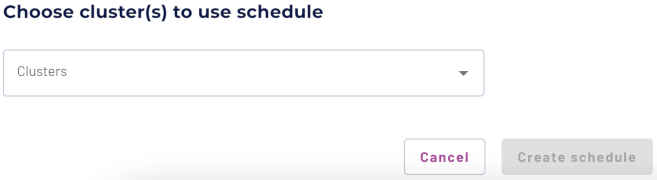
Choose clusters #
This optional step allows you to assign a schedule to one or multiple clusters:
- Expand the Clusters field, and select one or more clusters to assign the schedule to.
- Click Create schedule to create and view your schedule. Newly created schedules are enabled, by default.
Is the information on this page helpful?
Yes
No